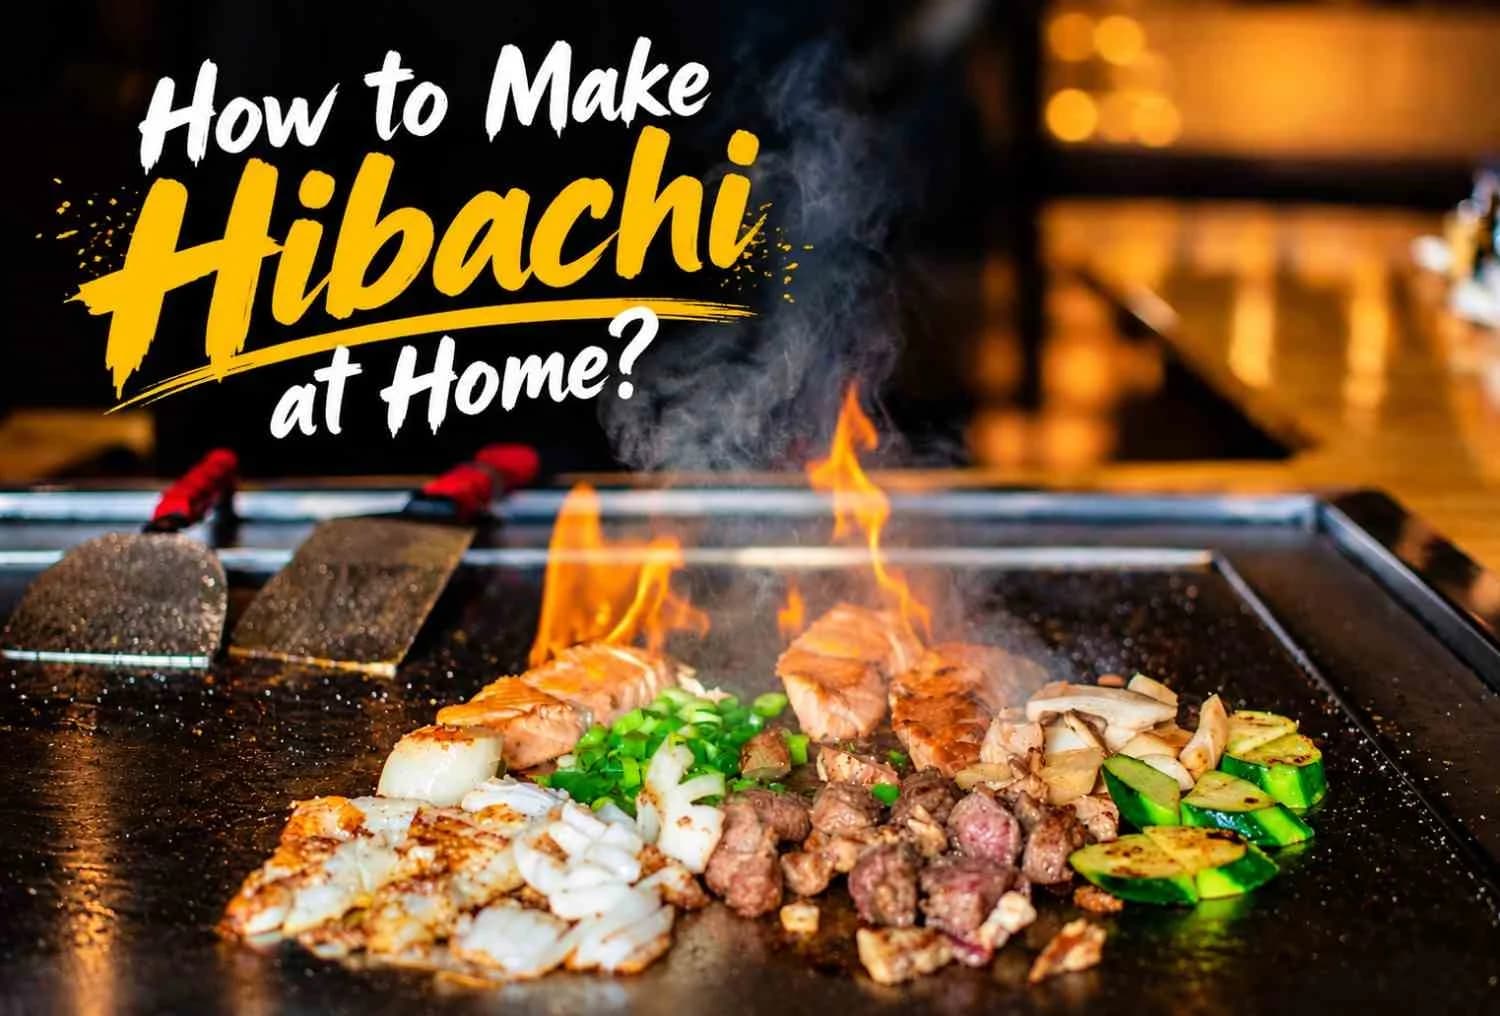
How to Make Hibachi at Home: A Complete Guide to Restaurant-Quality Results


You have been to the restaurant. You have watched the chef flip shrimp into his hat, shoot a stream of sake into the air, and build that iconic onion volcano. And somewhere between the first crack of butter on the griddle and the last bite of fried rice, you thought: I want this at my house.
Good news. Learning how to make hibachi at home is more achievable than the restaurant theatrics suggest. You do not need a professional flat-top the size of a dining table, and you do not need years of knife training. What you need is the right setup, the right cooking order, and a few tricks that separate a great hibachi dinner from a soggy stir-fry with big ambitions.
This guide covers everything from equipment and ingredients to the exact step-by-step cooking order, the two sauces you cannot skip, and a few honest notes about what the DIY version can and cannot replicate.
What Is Hibachi?
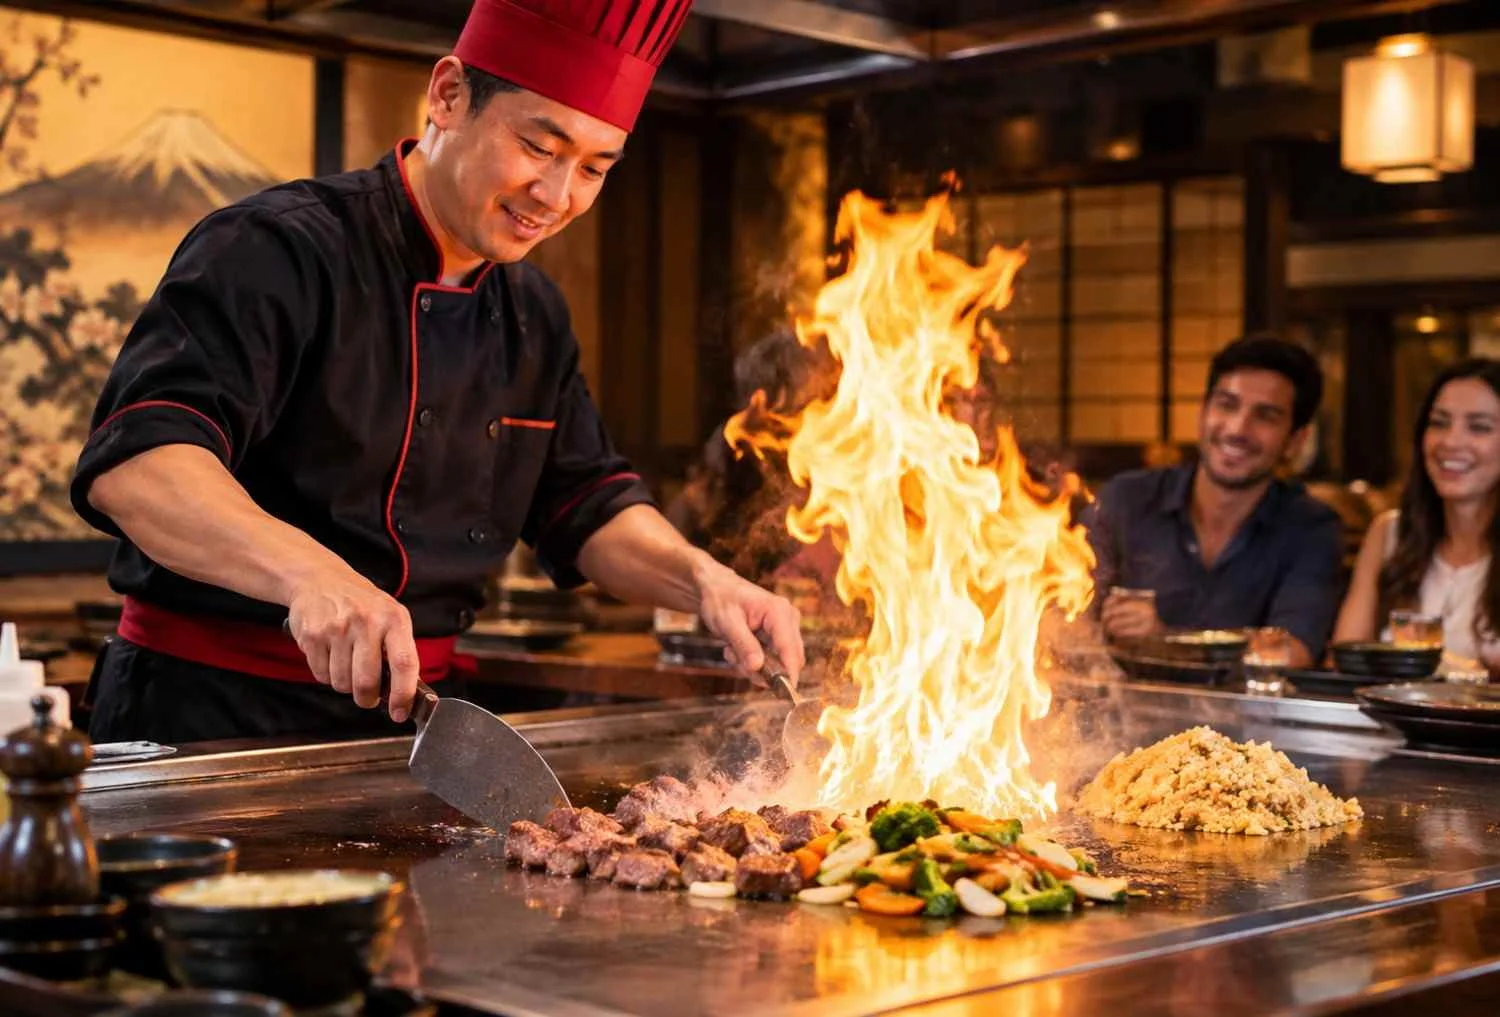
Before you start shopping, it helps to know what you are actually trying to recreate.
In Japan, a hibachi (written 火鉢, meaning "fire bowl") is a traditional charcoal brazier used for heating a room or grilling small portions over coals. What most Americans call hibachi at a Japanese steakhouse is technically teppanyaki, which means "cooking on an iron plate." The style involves a flat iron griddle, theatrical knife work, sauces served tableside, and a chef who is part cook and part entertainer.
In the US, the word "hibachi" has stuck to describe the whole experience: the sizzle, the fire, the fried rice, and the performance. So when you look up how to make hibachi at home, you are really learning teppanyaki-style cooking. Either term works. The food is the same either way.
Now hibachi is popular in different locations of the US.
What You Need Before You Start Cooking
In most cases, you’ll find almost all the necessary ingredients in your kitchen. Before that, you’ll need multiple things ready so you can make your hibachi recipe great without any inconvenience.
Here are the things you’ll need before you start cooking-
The Right Cooking Surface
This is the single biggest factor in getting authentic hibachi results. High, direct heat on a flat surface is what creates that signature sear, and a standard non-stick pan cannot get there without warping or releasing coating fumes.
Your best options at home:
- Cast-iron skillet or griddle: The gold standard. Holds heat exceptionally well and can handle temperatures above 450°F.
- Carbon steel pan: Similar to cast iron, lighter to handle, and heats fast.
- Outdoor flat-top grill (Blackstone or similar): If you want the full restaurant experience in the backyard, a flat-top propane griddle is as close as it gets.
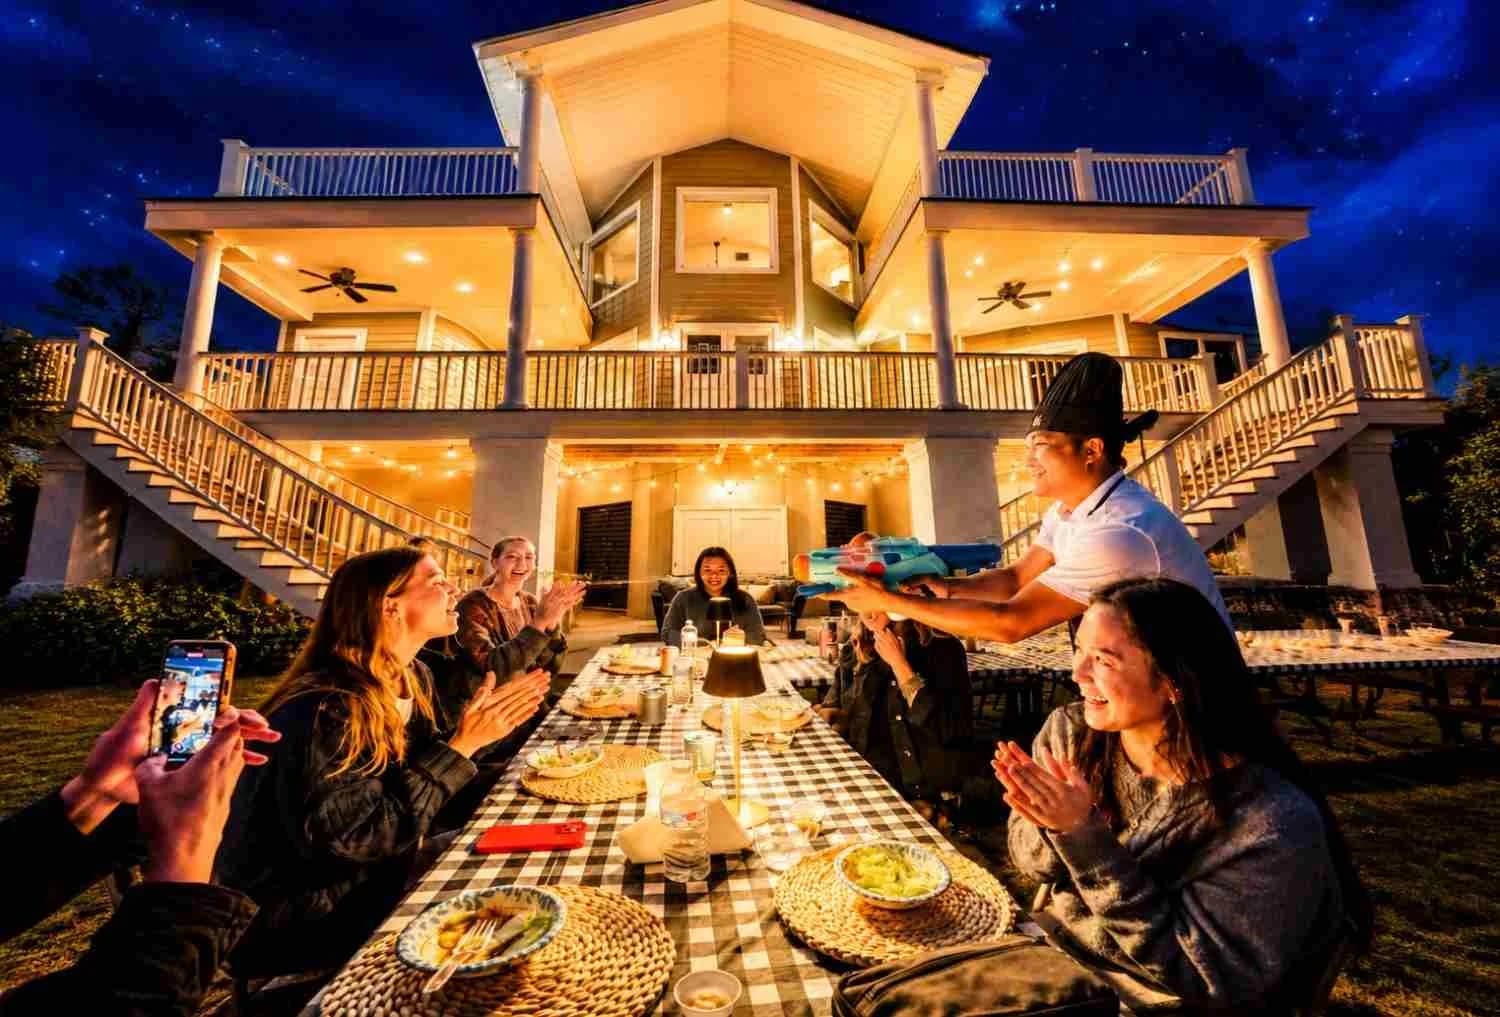
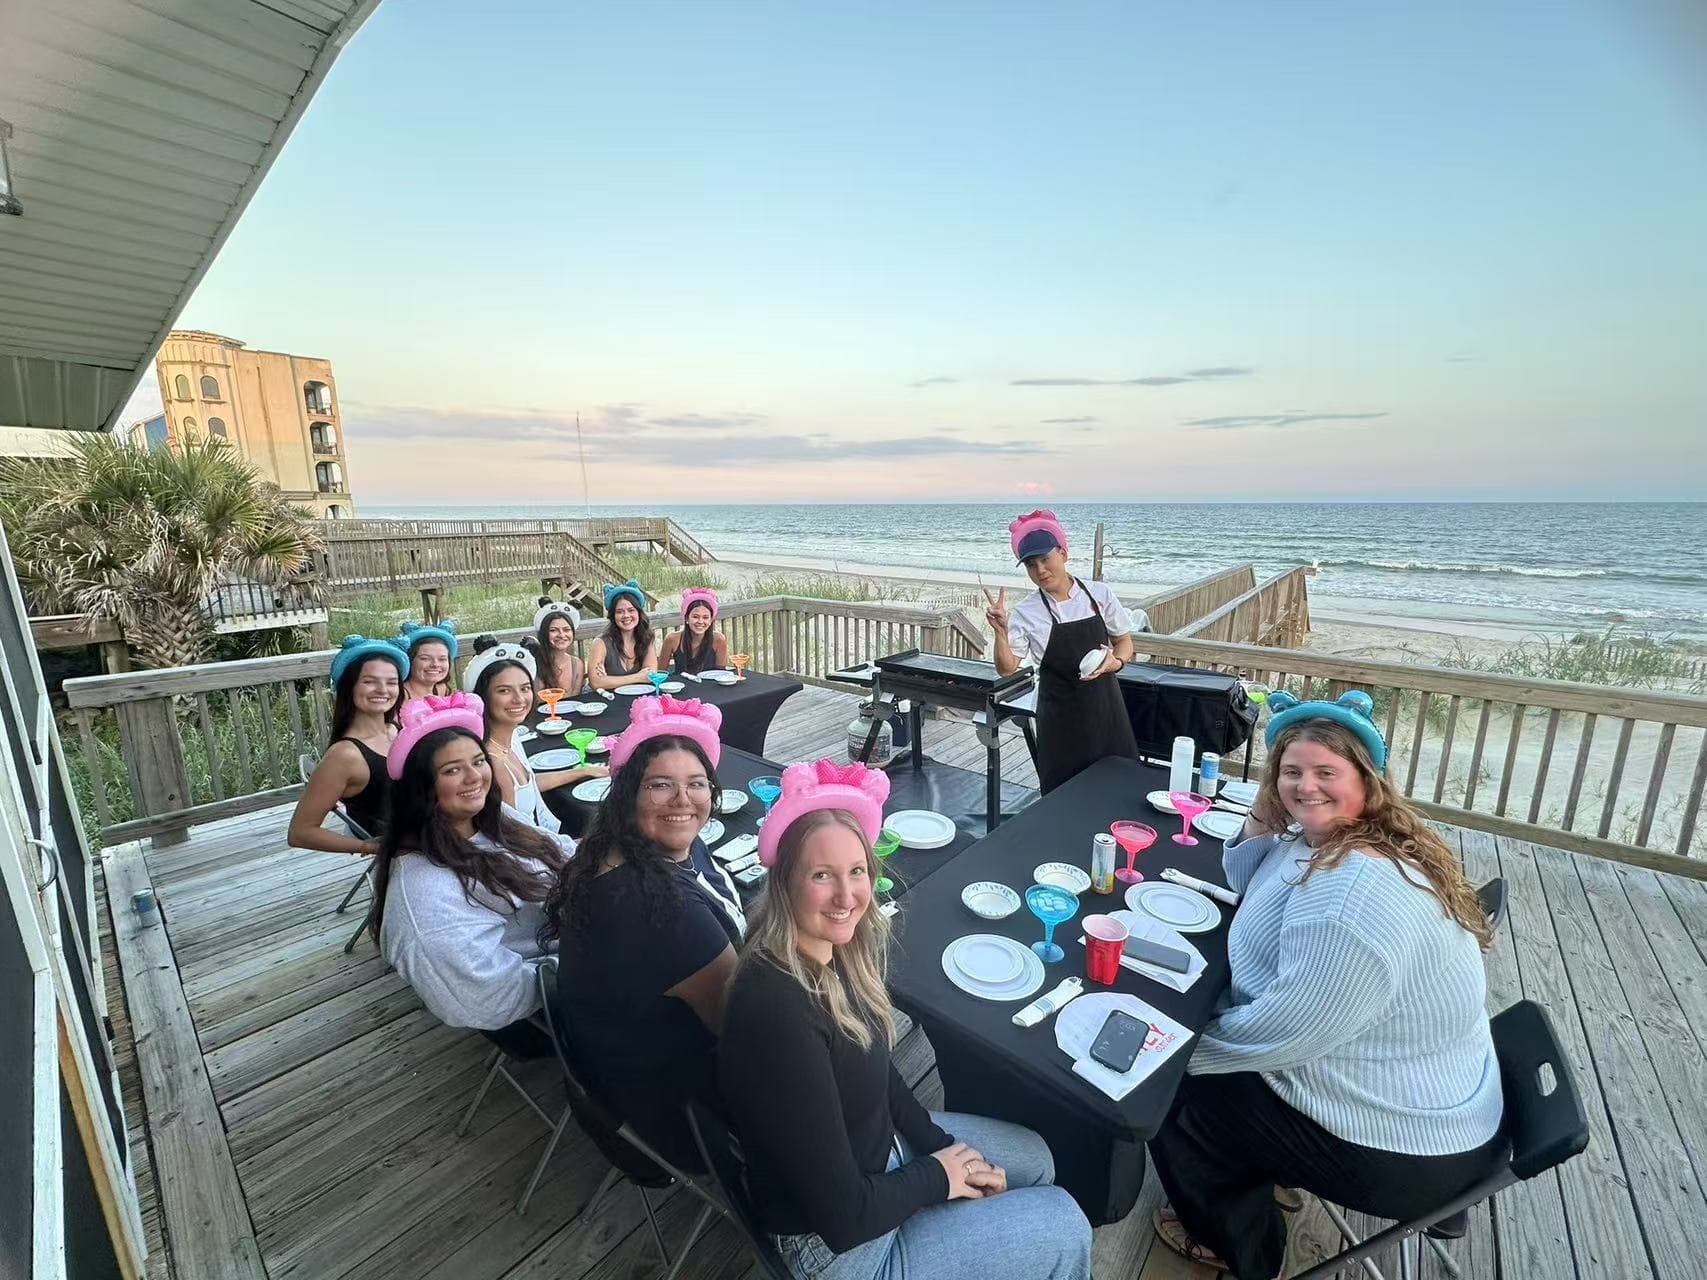
For a visual reference on what a real outdoor hibachi station looks like when set up for a backyard event, the HibaChef gallery is worth a look before you invest in equipment.
What to avoid: Ceramic, Teflon, or any non-stick surface that cannot handle screaming-hot temperatures.
Proteins: Pick Your Star
Hibachi means protein rich elements. Here we’ve mentioned 5 popular protein options for hibachi at home. You can choose one or multiple from the list considering your and your guests’ preference.
Classic hibachi proteins include:
- Steak (sirloin or filet): Cut into 1-inch bite-sized cubes. Well-marbled cuts sear beautifully.
- Chicken breast or thigh: Thighs stay juicier under high heat. Cut into even chunks so everything finishes at the same time.
- Shrimp: Large or jumbo shrimp, peeled and deveined. Cook fast and absorb the butter-garlic sauce like a sponge.
- Scallops: A premium choice. Sear hard, flip once, and do not overcook.
- Salmon or mixed seafood: Works well as a surf-and-turf pairing.
You can mix proteins, but cook each one separately. Different proteins need different cook times and temperatures. If you want to get a clear idea on balancing proteins, vegetables, and sites, you can consider this hibachi menu as a useful benchmark for structuring your own dinner at home.
Vegetables
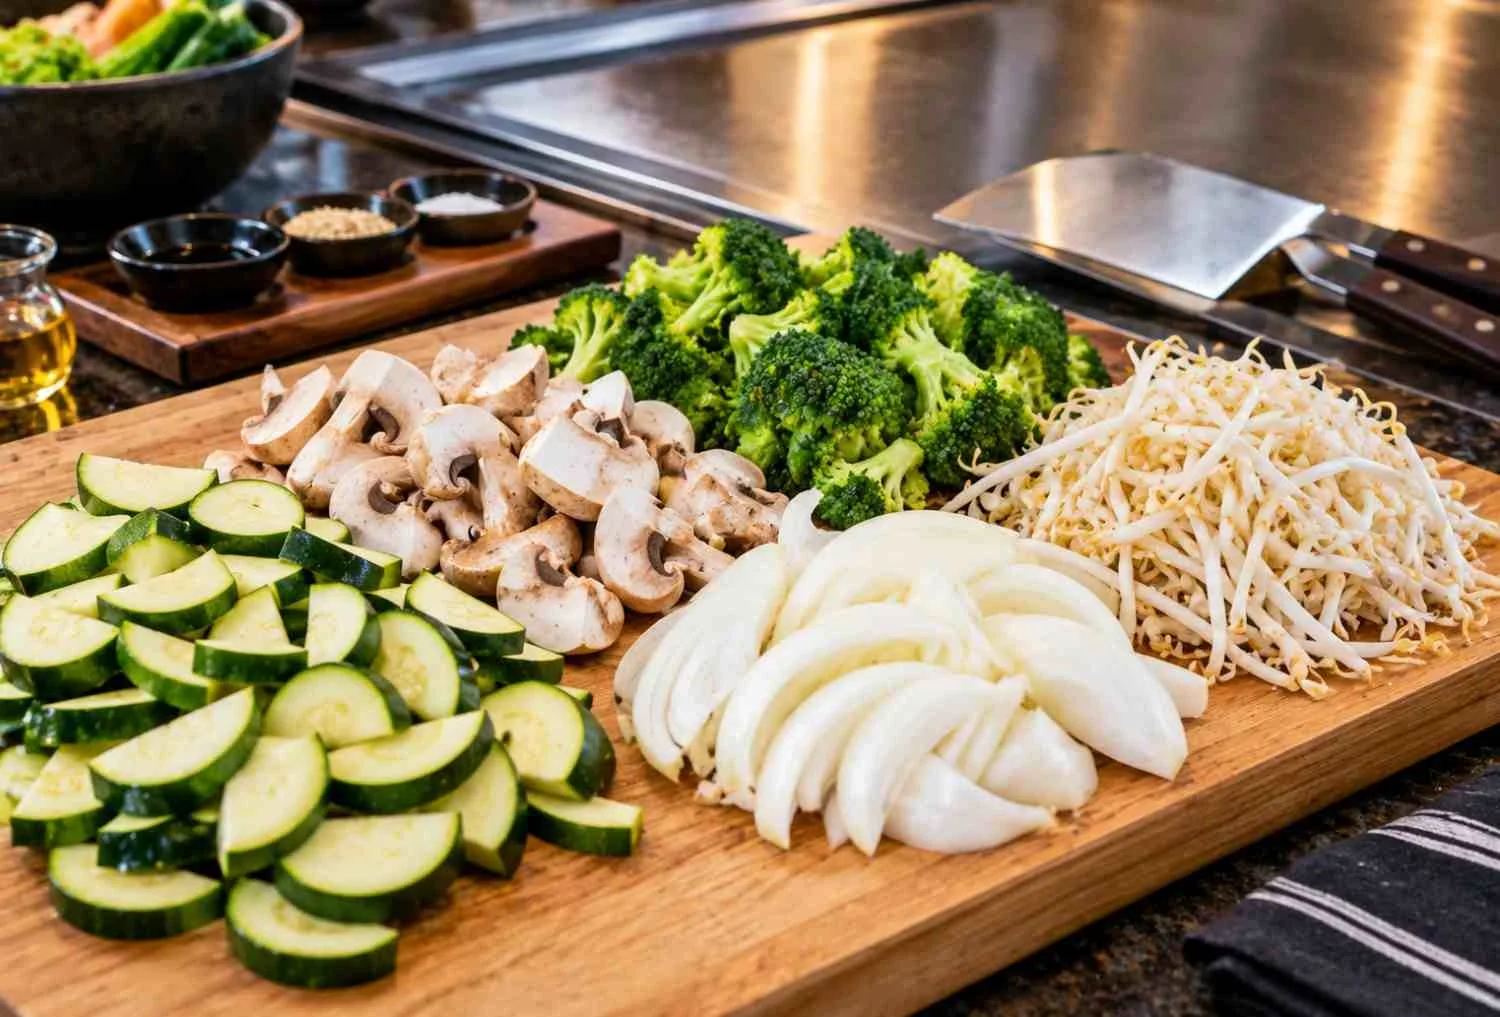
Even though vegetables are not the “must have” elements for hibachi recipes, they are something that ensures the fulfillment besides enriching the freshness. You can mix up vegetables as per your taste. But not all vegetables are suggested for hibachi recipes. You can use the classic options to be on the safe side.
Classic options include:
- Zucchini, sliced into half-moons
- White mushrooms, quartered
- Yellow onion, sliced into wedges
- Broccoli florets (blanched briefly before hitting the griddle)
- Bean sprouts
Uniformity matters. Cut everything into similar sizes so nothing is raw while something else is burnt. The prep alone for a group of ten or more adds up quickly.
For hosts in Birmingham AL planning a backyard celebration, hibachi catering in Birmingham covers this entire prep stage so you stay focused on your guests rather than the cutting board.
The Rice
Use day-old cooked white rice. Freshly cooked rice has too much moisture and will steam instead of fry. Spread leftover rice on a sheet tray and refrigerate uncovered overnight to dry it out. This one step is the difference between clumped mush and properly crisped hibachi fried rice.
The Two Sauces That Make Hibachi Taste Like Hibachi
Authentic hibachi flavor comes largely from two sauces. Do not skip either if you don’t want to sacrifice the taste you crave for.
Yum Yum Sauce
Also called white sauce or shrimp sauce, this is the creamy, slightly sweet sauce served with almost everything. The preparation process is also easy. You just need to make sure you have the following ingredients to prepare this sauce.
Ingredients:
- 1 cup mayonnaise
- 2 tablespoons tomato paste or ketchup
- 1 teaspoon garlic powder
- 1 teaspoon onion powder
- 1 tablespoon butter, melted
- 1 teaspoon sugar
- 1 to 2 tablespoons water (to thin to your preferred consistency)
- Splash of rice vinegar or apple cider vinegar
Whisk everything together and refrigerate for at least one hour before serving. It gets better the longer it sits. Make it the day before if you can.
Ginger Dipping Sauce
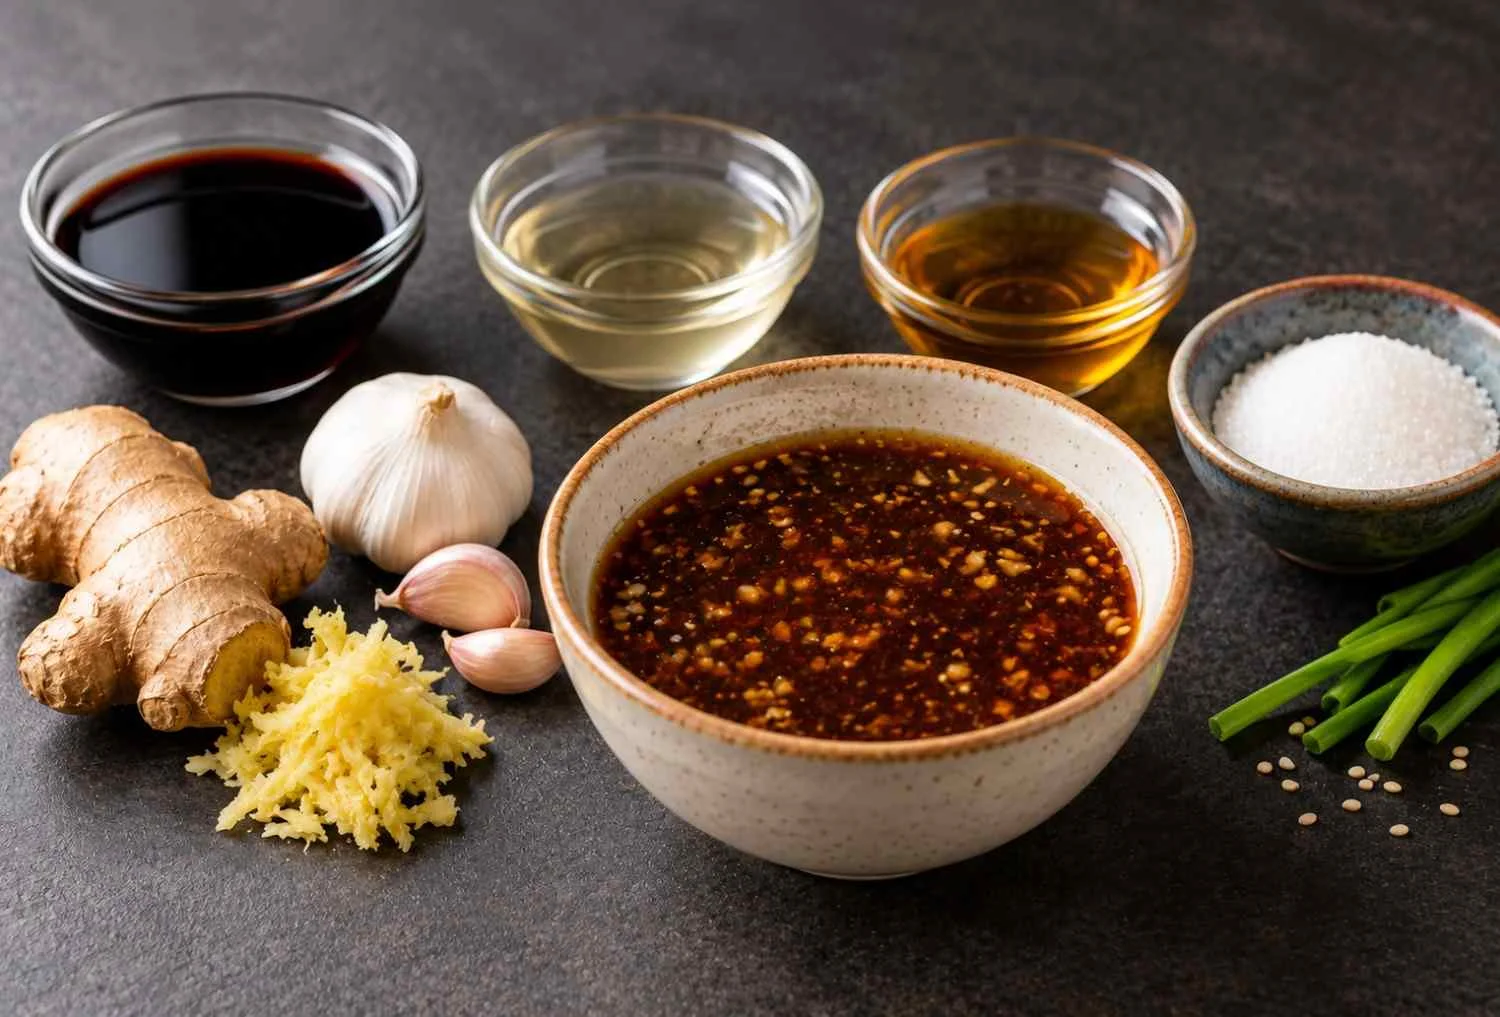
The flavour is a little tangy, but healthy. It’s mostly served alongside seafood and chicken. Even though many restaurants don’t use it, you can keep it so your guests will have multiple options to choose.
Ingredients:
- 1/4 cup soy sauce
- 1 tablespoon fresh grated ginger
- 1 tablespoon rice vinegar
- 1 teaspoon sesame oil
- 1 teaspoon sugar
- 1 clove garlic, minced
Combine and let it sit for 30 minutes for the flavors to come together. This sauce is sharp, clean, and cuts through the richness of the butter-cooked proteins perfectly.
How to Make Hibachi at Home: Step-by-Step Cooking Order
Timing is everything in hibachi cooking. Here is the order that keeps every component hot and ready at the same time.
Step 1: Prep Everything Before You Touch the Heat
Have every ingredient cut, sauced, and ready to go before turning on the burner. Hibachi cooking moves fast. You do not have time to slice a zucchini once the griddle is hot. Prep is 80% of the job. Marinate your proteins at least 30 minutes ahead: soy sauce, sesame oil, minced garlic, and a little ginger. Even a short marinade makes a significant difference in depth of flavor.
Step 2: Heat the Surface Until It Smokes
Get your cast iron or griddle screaming hot. Add a neutral high-smoke-point oil (vegetable or avocado oil) and let it shimmer before anything goes on. This is the step most home cooks rush, and it is the reason their hibachi comes out grey instead of golden.
Step 3: Cook the Proteins
Add your proteins to the hot surface and resist the urge to move them. Let them sear undisturbed for 2 to 3 minutes, then flip. This is where the crust forms. If you push the meat around the second it hits the pan, you trap the steam and lose the sear. Once cooked through, push the protein to the side and deglaze with a splash of soy sauce. Add butter, garlic, and a little sesame oil. Toss the protein in the glaze until fully coated. Finish with a squeeze of lemon juice right before serving.
Step 4: Cook the Vegetables
Clear a section of the griddle and add more oil. Throw in the onions first since they take the longest. Once they are softened and slightly charred at the edges, add mushrooms, zucchini, and broccoli. Season with soy sauce and a knob of butter. Keep the heat high. You want caramelization, not steam. Bean sprouts go in last. They only need 60 to 90 seconds and wilt quickly.
Step 5: Make the Hibachi Fried Rice
Push everything to one side. Add butter and oil to the cleared space. Add your day-old rice, pressing it flat against the hot surface and leaving it alone for a minute to develop a crust on the bottom. Break it apart and stir, then push it to the side again. Crack 2 eggs directly onto the griddle, scramble them quickly, and fold into the rice. Add soy sauce, a pinch of garlic powder, and sesame oil. Toss until every grain of rice is coated and slightly crisped. Adjust salt to taste.
Step 6: Plate and Serve
Serve everything together on a warm plate. Spoon yum yum sauce on the side or drizzle it across the proteins. Set the ginger sauce out for dipping. If you want to go the extra mile, garnish with sesame seeds and sliced scallions.
Tips for Getting That Authentic Hibachi Flavor Every Time
- Use real butter, not margarine: Butter is the backbone of hibachi flavor. It goes in with the protein glaze, with the vegetables, and with the fried rice. Do not substitute.
- Do not overcrowd the cooking surface: Cook proteins in batches if your pan is not large enough. Overcrowding drops the surface temperature and turns a sear into a braise.
- Soy sauce is a seasoning, not a marinade bath: Use it in measured splashes during cooking, not by the cup. Too much soy sauce and everything turns salty and dark.
- Day-old rice is non-negotiable: Repeat: freshly cooked rice ruins hibachi fried rice. Make it a day ahead.
- High heat the whole time: Unlike home cooking where you manage heat up and down, hibachi stays on high. If your surface temperature drops, so does the flavor.
The One Thing DIY Hibachi Cannot Replicate
Here is the honest part of this guide.
You can nail the food. With practice, your hibachi proteins will be properly seared, your fried rice will be crispy, and your yum yum sauce will be refrigerator-jar perfect. The flavors are absolutely achievable at home.
What you cannot replicate is the show.
The onion volcano with its ring of fire. The shrimp tail flipping arc. The sake stream caught mid-air. The synchronized rhythm of a chef working a full griddle while keeping a table of ten people laughing. That is the other half of hibachi, and it comes from years of practice behind a professional grill.
For a weeknight dinner or a casual family meal, the DIY version is genuinely excellent. But for a birthday party, a celebration, or any occasion where the event itself is supposed to be memorable, the cooking is only part of what people are coming for.
When the occasion calls for that full experience, booking a private hibachi chef is the fastest way to bring it to your backyard without putting yourself behind the grill.
Final Thoughts
Learning how to make hibachi at home is a genuinely rewarding cooking project. The key points to remember: get your surface screaming hot before anything touches it, cook proteins and vegetables separately in batches, use day-old rice for the fried rice, and make both sauces in advance. The flavors come from butter, soy sauce, garlic, sesame oil, and high direct heat applied in the right order.
The more you practice, the better your timing gets. Start with one protein and a simple vegetable mix on your first attempt. Once you are comfortable managing the heat and the cooking order, add the fried rice and the second protein. By your third or fourth session, the whole dinner will come together the way it does in the restaurant.
And when you are ready for the night where the chef does the cooking and the show runs itself, HibaChef is one booking away.
The Latest
Poolside Hibachi in Miami: The Ultimate Private Dining Experience
October 18, 2026
9 minutes read
How to Plan a Miami Beach House Hibachi Party
October 11, 2026
10 minutes read
How to Host an Outdoor Hibachi Party in Miami Without Going to a Restaurant
October 6, 2026
14 minutes read
How to Plan a Hibachi Pool Party in Orlando
October 5, 2026
14 minutes read
Best Hibachi Chicken Recipe: Restaurant-Style in 30 Minutes
September 23, 2026
11 minutes read
Related Blogs
Poolside Hibachi in Miami: The Ultimate Private Dining Experience
October 18, 2026